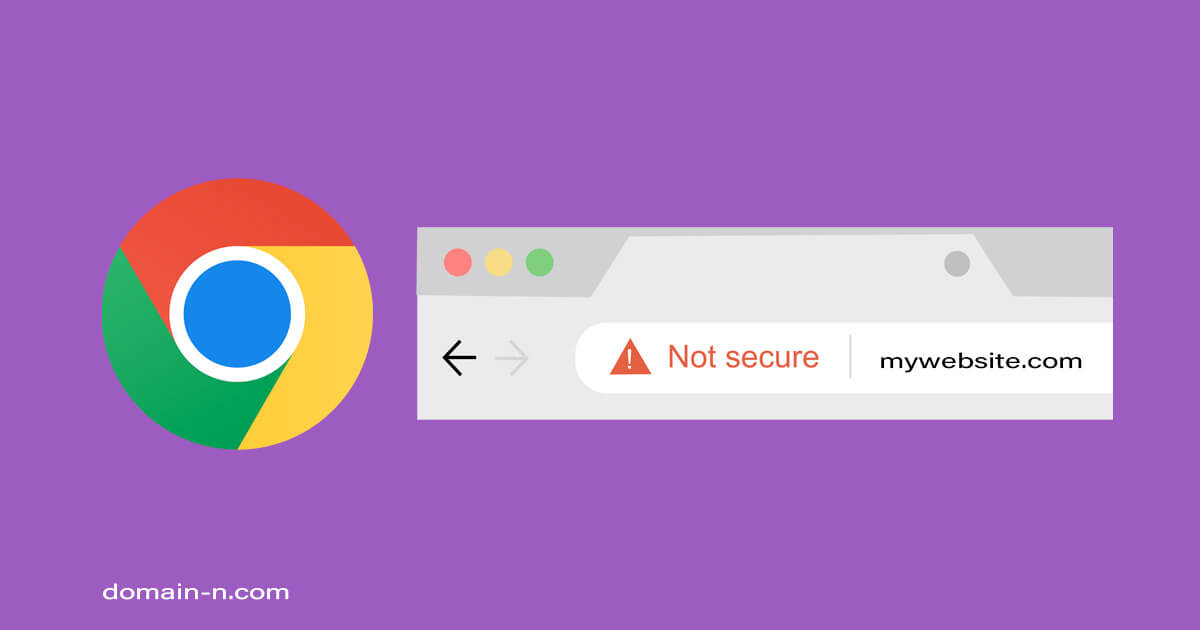
Today, website security is crucial. When users visit your website, they expect their data to be protected, and Google Chrome is no exception to this rule. If your website displays the dreaded “HTTPS Not Secure” message in Chrome, it can erode trust and deter visitors. Fortunately, as a website administrator using a cPanel server, you have the tools and knowledge at your disposal to address this issue swiftly and effectively.
Understanding the “HTTPS Not Secure” Message
Before diving into the solutions, it’s essential to understand why Chrome displays the “HTTPS Not Secure” warning. When you visit a website, your browser checks the site’s SSL/TLS certificate. If there’s an issue with the certificate or if the website uses an unencrypted HTTP connection, Chrome will display the warning to inform users that their connection may not be secure.
Diagnosing the Problem
The first step in resolving this issue is diagnosing the problem. To do this, follow these steps:
- Step 1: Check Your SSL Certificate
Ensure that your SSL certificate is valid and hasn’t expired. An expired certificate will trigger the “HTTPS Not Secure” warning. - Step 2: Mixed Content
Look for mixed content issues on your website. Mixed content occurs when your site loads both secure (HTTPS) and non-secure (HTTP) elements. Chrome will flag this as a security risk. - Step 3: Insecure Links
Check for any insecure links in your website’s code. Links to external resources or HTTP URLs can trigger the warning. - Step 4: Browser Cache
Clear your browser cache and cookies. Sometimes, outdated cached data can cause false warnings.
Fixing the “HTTPS Not Secure” Error
Now that you’ve identified the issue let’s explore how to fix it:
- Step 1: Renew or Install SSL Certificate
If your SSL certificate has expired, renew it. If you don’t have one, purchase and install an SSL certificate for your website. cPanel makes this process relatively straightforward. - Step 2: Update Your Website’s Links
Ensure that all internal and external links on your website use HTTPS. Update any HTTP links to their secure counterparts. - Step 3: Content Management Systems (CMS)
If you’re using a CMS like WordPress, update your site’s settings to use HTTPS. Many CMSs have built-in options for this. - Step 4: Force HTTPS
Configure your server to force HTTPS connections. This can be done through your server’s .htaccess file or using cPanel’s settings. - Step 5: Test Your Website
After making these changes, test your website to ensure the “HTTPS Not Secure” warning no longer appears.
Conclusion
As a website administrator, addressing the “HTTPS Not Secure” error in Chrome is crucial for maintaining the trust of your visitors. By following the steps outlined in this guide, you can secure your website and ensure a safe browsing experience for all users.