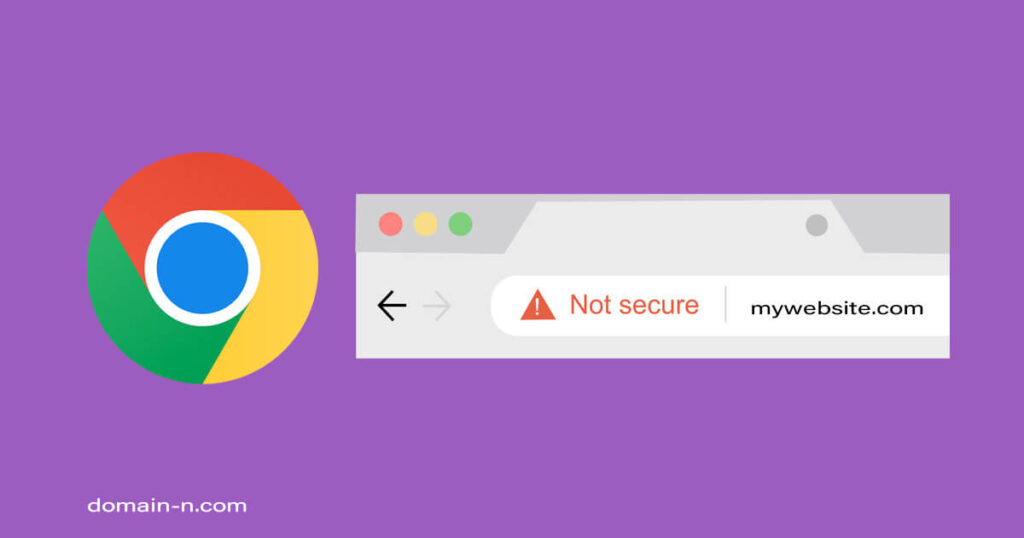
What Is a 403 Forbidden Error?
You might encounter the 403 Forbidden Error when you visit an empty website directory or a specific page that has a permission error. This is because most websites are set up to disallow directory browsing to prevent attackers from accessing sensitive files.
However, if you or your visitors encounter this error on your site, it’s necessary to fix the issue or you may risk losing valuable traffic. Since its causes vary, there are many methods to resolve the 403 errors. In this article, we will explain the different types of 403 Forbidden errors, their possible causes, and provide ten methods to fix the 403 Forbidden Error.
Is 403 Forbidden Bad?
403 Forbidden Error, an HTTP status code, occurs when the web server understands the request but can’t provide additional access. It’s a client-side error and can manifest in various forms, such as:
- Forbidden: You don’t have permission to access [directory] on this server
- HTTP Error 403 – Forbidden
- Error 403 – Forbidden
- 403 Forbidden request forbidden by administrative rules
- 403 Forbidden
- Access Denied – You don’t have permission to access
- Error 403
- HTTP 403
- Forbidden
The causes of this error can range from a missing index page to a malware infection or changes in web page links.
How to Fix the 403 Forbidden Error
Since the 403 Forbidden Error is closely related to file access permissions, this will be the main focus of the following methods to solve it. That said, there are other ways of resolving this issue, such as clearing the browser cache or scanning for malware.
Let’s take a closer look at each of the eight available methods to solve the HTTP error 403.
1. Check the .htaccess File
The .htaccess file is a critical configuration file for your website. It can often be found in the public_html directory. If you can’t locate it, you might need to create a new .htaccess file manually. To check whether a wrong configuration is causing the error, follow these steps:
- Right-click on the file and select Download to create a backup.
- Delete the file.
- Try accessing your website. If it works fine, this indicates that the file was corrupted.
- To generate a fresh .htaccess file, log in to your WordPress dashboard and click on Settings -> Permalinks. Without making any changes, click the Save Changes button at the bottom of the page.
2. Reset File and Directory Permissions
Incorrect file and directory permissions can trigger the 403 error. Use FTP to edit file and folder permissions. To begin:
- Configure an FTP client and connect it to your website.
- Right-click
public_htmland select File Attributes. - Enter permission
755in the Numeric value field, select “Apply to directories only,” and press OK. - After changing folder permissions, repeat the process for files, entering permission
644and selecting “Apply to files only.” - Try accessing your website to see if the error is resolved.
3. Disable WordPress Plugins
If none of the previous methods work, the error may be caused by an incompatible or faulty plugin. Disable all plugins at once to detect the problematic one:
- Access your hosting account via FTP or the hosting account’s file manager.
- Go to the
public_html -> wp-contentfolder. - Rename the
pluginsfolder todisabled-pluginsto disable all plugins. - Try reaccessing the website. If the error is no longer there, a problematic plugin is the source of the error.
4. Upload an Index Page
Check your website’s homepage name – it should be called index.html or index.php. If it’s not, then there are two alternatives. The first and simplest one is to rename the homepage as index.html or index.php.
However, if you want to keep the current homepage name, upload an index page to your public_html directory and create a redirect to your existing homepage. Here are the steps to follow:
- Upload an
index.htmlorindex.phpfile to yourpublic_htmldirectory using your hosting account’s file manager or FTP. - Open the
.htaccessfile. - Insert this code snippet to redirect the
index.phporindex.htmlfile to your existing homepage. Don’t forget to replacehomepage.htmlwith the actual page name:
Redirect /index.html /homepage.html
5. Edit File Ownership
Incorrect file ownership can trigger the 403 forbidden error if you use Linux or VPS web hosting. Typically, files and folders can be assigned to an Owner, a Group, or both. To modify file ownership, you need SSH access to your server. Here’s how to check and modify ownership:
- Connect to your website server using SSH.
- Check the ownership of the file using the following SSH command:
ls -l [file name]
The result will look something like this:
-rwxrw-rw- 1 [owner][group] 20 Jul 20 12:00 filename.txt
Look at the owner and group part. The correct ownership should be your hosting account’s username. If you see different ownership, use the chown Linux command to modify file ownership. Here’s the basic syntax for chown:
chown [owner][:group] [file name]
For example, if your username is Hostinger, use syntax like this:
chown Hostinger filename.txt
If you don’t feel comfortable using SSH yourself, contact your hosting provider for help.
6. Verify the A Record
The 403 forbidden error can also happen if your domain name points to the wrong IP address, where you don’t have permission to view the content. Therefore, double-check that your domain name points to the correct IP address. To check if the domain A record is pointed correctly, access the DNS Zone Editor on your hosting panel:
- Log in to your hosting panel.
- Go to the Advanced section and click on DNS Zone Editor.
- You will see a list of DNS records. Find a record with the label A in the type column.
- Check the IP address on the Content column.
- If it’s pointing to the wrong IP address, click Edit to change it. Once you’ve finished, click Update.
- If you don’t find the correct record, create a new one from the Manage DNS records section. Make sure you select A as the Type and insert the correct IP address into the Points to field. Then, click Add Record.
7. Scan for Malware
Malware can inject unwanted code into the .htaccess file, causing the 403 error. Use a WordPress malware scanner plugin to identify and remove malicious software.
8. Clear Your Web History/Cache
Clearing your browser’s cache and cookies can resolve the error caused by outdated website links or cookie-related issues. Follow these steps to clear the cache and cookies on Google Chrome:
- Click on the three-dot icon on the top right corner and select Settings.
- Find the Privacy and security section and click Clear browsing data.
- Use the drop-down menu to select the time frame for data deletion. Check the Cookies and other site data and Cached images and files options.
- Click Clear data.
9. Use Private Browser
Access your website in private or incognito mode to identify if caching is causing the issue. Private browsing doesn’t use cached data, making it a useful troubleshooting step.
10. Clear Your DNS Cache
Clearing your DNS cache can help if the issue is related to outdated DNS records. This step can resolve DNS-related problems.
After completing these steps, try revisiting the website. If this or any other solutions don’t work, contact your hosting provider’s support team for assistance.
Conclusion
403 Forbidden errors can be frustrating and can prohibit you from accessing a resource. While they mainly occur due to incorrect file permissions, there are several other possible causes, like a missing index file, faulty plugins, or even a malware infection.
To get rid of the 403 error message on your WordPress site, take the following recap actions:
- Check the .htaccess file.
- Reset file and directory permissions.
- Disable WordPress plugins.
- Upload an index page.
- Edit file ownership.
- Verify the A record.
- Remove any malware.
- Clear the web browser history and cache, or use private browser
- Clear your DNS cache.
Remember that the 403 forbidden error is just one of many HTTP error codes, and as a website owner, you may encounter other client-side and server-side errors. It’s essential to keep learning about these errors to handle them effectively if they appear on your website.